Saturday 22 August 2015

August 2015 Ops session

Well the August ops session is now done and dusted. 

Thanks guys for making it a great night. As operations go the layout ran pretty smoothly and as far as I'm aware the administrative side (paperwork etc) worked to a treat, justifying the hard work on the lead into the session to ensure all the rolling stock was in the right location. 

Last night saw the introduction of two way radios to the ops session. What started out as a trial, soon became a milestone event and I am very pleased to have finally had a go at this next level of communications. The result was very pleasing and rewarding. I truly felt a bit like a dispatcher last night which was kind of cool!! 

Whilst our use of correct train "LINGO" needs refining, the comms via radio traffic is really cool. 

We ran for 4+ solid hours non stop and realistically only moved 40% of the trains on the layout. 1 x manifest train took 1.5 hrs to go from one end of the layout to the other, however the operator was kept busy the whole time....guess this gives a sense of distance.....hopefully.

At the end of the session Jeff ran a single flatcar with a CUBE sitting on the deck around the layout. We will post the dvd footage to my youtube and blog site when it has been edited. 

On closing we had an excellent debrief session over a couple of beers before everybody wet home.

Observations :
  • Cleaning track and engine wheels thoroughly before an ops session makes for happy operators
  • More locations for holding the clip boards
  • Turn the layout on and check the DCC system at least four hours before starting ops
  • Can now start reverting to single operator crews
  • Start an operator trainee program to be able to progress to solo ops
  • Cheat sheets required on digitrax loco acquiring
  • Yardley yard needs two switchers at times
  • Yardley yard switcher needs preview switch lists
  • Brakeman working ahead of the manifests preparing the pickups from the next location
  • Introduce...engine hustler position, Track inspection / maintenance train (vacuum car)
  • Introduce a derailment procedure (yet to be determined)
All in all I'm very happy with the session and you all can look forward to most of the above changes being introduced at the next ops session. Thanks to everybody
Laurie busy switching Walulla whilst Roger and Malcolm are sorting out there next freight run departing from West Staging 


BNSF Intermodal rounding a curve in Palouse Canyon

High up rounding a 180 degree curve nering Cheney is a UP MT coal train heading back East. At the same time a BNSF Manifest train is snaking its way down the Steep slopes of Palouse River Canyon


Some foreign road engines are a long way from home


Yardley Yard is a Hive of activity


Darren is in control a west bound ....checking his consist before departure from east staging


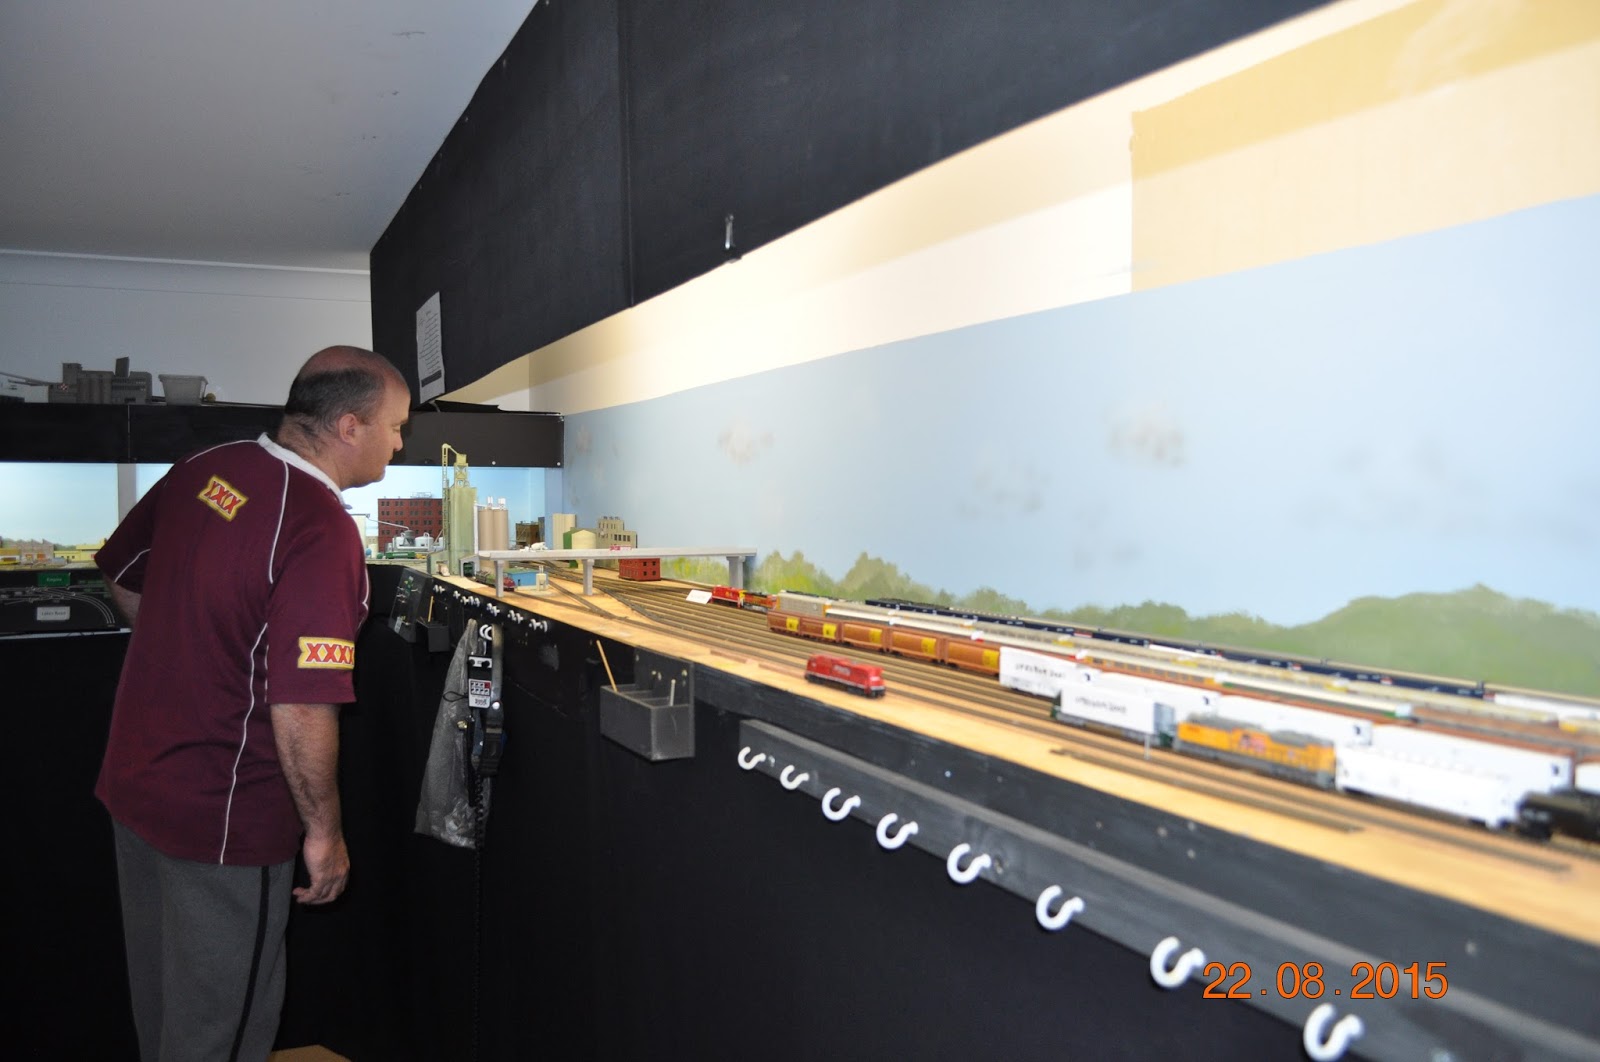
Jeff is checking out that his manifest train has the correct pickups before departing Spokane

Scrap steel gons to be interchanged with The Mud Bay and Southern


Sunday 1 March 2015

Marshal Canyon

I happened to be at Marshal Canyon today when a UP Westbound Manifest train came through. Luckily I had my Iphone camera at hand and I took some snaps!

The UP Manifest was headed by #8520, an SD70ACe. Here it is in dynamic braking as it rounds the curve deep in Marshal Canyon.


The last two photos were taken as the train rounds the curve entering the yard limits at Cheney, WA. Apparently the local road gang have just rectified a nasty road crossing. Here they have just poured a new concrete crossing to smooth the surface for vehicle crossing the main lines. 


Monday 9 February 2015

Projects update 9/2/15


This has a been a week of Projects. 

Today I refurbished the old Yardley Yard West control panel with a new stencil (Track Plan) that is accurate to the exiting trackwork. This required removing the switch's, then the old stencil which was a tedious job. Then I cleaned up the control panel and filled the original switch holes with filler. Once dry I sanded the surface smooth, painted the control panel Matt Black and set out to dry. Whilst the control panel was drying I went to the local Office Works and had them print off the new track plan which I had drawn in excel. With this in hand I went back home and commenced the process of  rebuilding the panel: 

The following photos show the process. 


The below photo shows the control panel after it was painted black. It is drying in the full sun.


This photo is a of the control panel track plan, which is printed on A3 sheet. I've cut a majority of the excess white sheet off in this photo


In this photo the A3 sheet has been glued to the control panel. The round green dots are the DPDT switch locations for drilling


The panel has been drilled and switch's installed!!!


Ok the panel is now ready for installation on the layout


A couple of shots of the finished product. Re installed and rewired to the layout


Saturday 7 February 2015

Projects continued

Well I've had a great week. I've completed Marshal Canyon to a point that I am very happy with. The photos below will show the starting point - roughed in scenery and the processes I used to get the scenery to a basic completion. This involved shaping the styrofoam slopes; Placing the rock embankment; adding the ground cover and lastly installing trees.

Thanks to the help of Steve Ord and Trevor Phillips on Wednesday we completed two hundred fir trees of which 160 were planted on the layout. This effort has transformed the scenery on the layout, almost making it seem live. 

The picture of Marshal Canyon that I envisaged in my head is now actual and I can't be happier with the results.


Looking West along  Marshal Canyon at the commencement of the project a week ago. 


Looking East at Marshal Canyon.


 I've used both Styrofoam and expanding foam to make the basic scenery shell. Here in the photo you can see how I've blended the expanding foam to match the styrofoam. The pink colored landscape is expanding foam. I've used this technique for a long time now and find it helps on the smaller areas where you need to add scenery quickly. 


In the photo below I've commenced placing the first layer of ground materials on the styrofoam. My process is to: paint the area with an earth colored paint, place glue on the wet paint and paint this in, sprinkle real dirt on the paint / glue mix, add 3 shades of fine ground foam, then add the various colors and lengths of static grass as required.  


In the photo below I wanted a rock cut in the canyon. So I've applied rocks from plaster molds. once this has set enough I start the rock coloring process.


Upon completion of the rock coloring process I continue the ground covering process. 


Thanks to Steve and Trev2, I had plenty of trees ready for planting in Marshal canyon


Below is the final scene. I'm wrapped in how this has turned out and how it has seemed to come to life! My good friend Jim Younkins, whom I have traveled with to the Marshal Canyon and Spokane area, has said that I have captured the feel of the area well....That is good enough for me. Thanks to Steve and Trev this has happened fairly quickly. Now we are onto the next project...watch this space!!!


Tuesday 27 January 2015

Layout projects to date


Hi all, well its time again to update you on progress on the UPBNSF Joint Division. Over the last few weeks I have been focused on scenery and more scenery. Thus far I've managed to Ballast 80% of Yardley yard, Scenic and build the industries for Thierman Rd Industrial district, Mission Avenue industries and trackage, scenic Bevvers Forest, Hangman Creek and fabricate and kitbash a few buildings to complement the operations of the layout and scenery. 

Iv'e also found some time to commence building a conveyor system on the  Hopper Junction Power plant.

With the N Scale convention here in Brisbane only 2 months away I'm fast running out of time to do much more work. It has been great to have a couple of helpers recently with Steve Ord and Trevor Phillips (Trev 2) providing working bee assistance. Thanks guys your efforts have been very much appreciated!!!!!

Over the next few nights I will update you on several areas on the layout with some posts and photos. This will give those who won't be at the convention an overview of various parts of the layout. The rest of this blog will focus on Bevvers forest.


The following photos depict the development of Bevvers Forest from Base scenery to Low detailed completion.

The first photo is an overhead view of the west end of Spokane and Bevvers forest commences on the L/H side where the three tracks converge into the single mainline. 

1

Photo 2 shows the first tree planting. The comments I received from some of my mentors were that the trees looked great but what about the TRUNKS!

2
So back to the design board I went and i developed a larger trunk as can be seen in the below photo


I then proceeded to plant out the rear ridge


4


Looking from the end the trees forest is growing
Here we see Bevvers Forest on the Eastern side t of Hangman creek. Hangman creek disappears into the backdrop on the left

The completed scene of Bevver forest and Hangman Creek. The lower line is  branch line to a Coal loading facility in the local area. 

I wanted to depict the feeling that you are in a Pine / Fir forest. The mainline weaves its way along the hills. This is very similar to the mainline that departs Spokane Westbound through Cheney. I intentionally limited the mix of trees in this area to about 95% Firs. I like the feel that it gives. As I proceed around the next major bend in the layout I will commence mixing tree type to a 60% Fir, 20% Spruce and 20% Deciduous type trees.